imagemap

Monday, November 11, 2013

Artist Study: Dale Chihuly


We are studying artist, Dale Chihuly, who blows glass into abstract 3D shapes! We viewed Chihuly’s art on our Smartboard and watched a video clip of the stages of glass blowing.  We discovered how the air and heat changes the shape of the glass. We also learned that sand and heat combine to create glass. We described what Chihuly’s glass shapes looked like to us. Some of us thought the sculptures looked like flowers, sea creatures, or even giant snakes!

We used the Chihuly app and our breath to blow glass art on an iPhone. We compared the sizes of the “Macchia” and “Flori” 
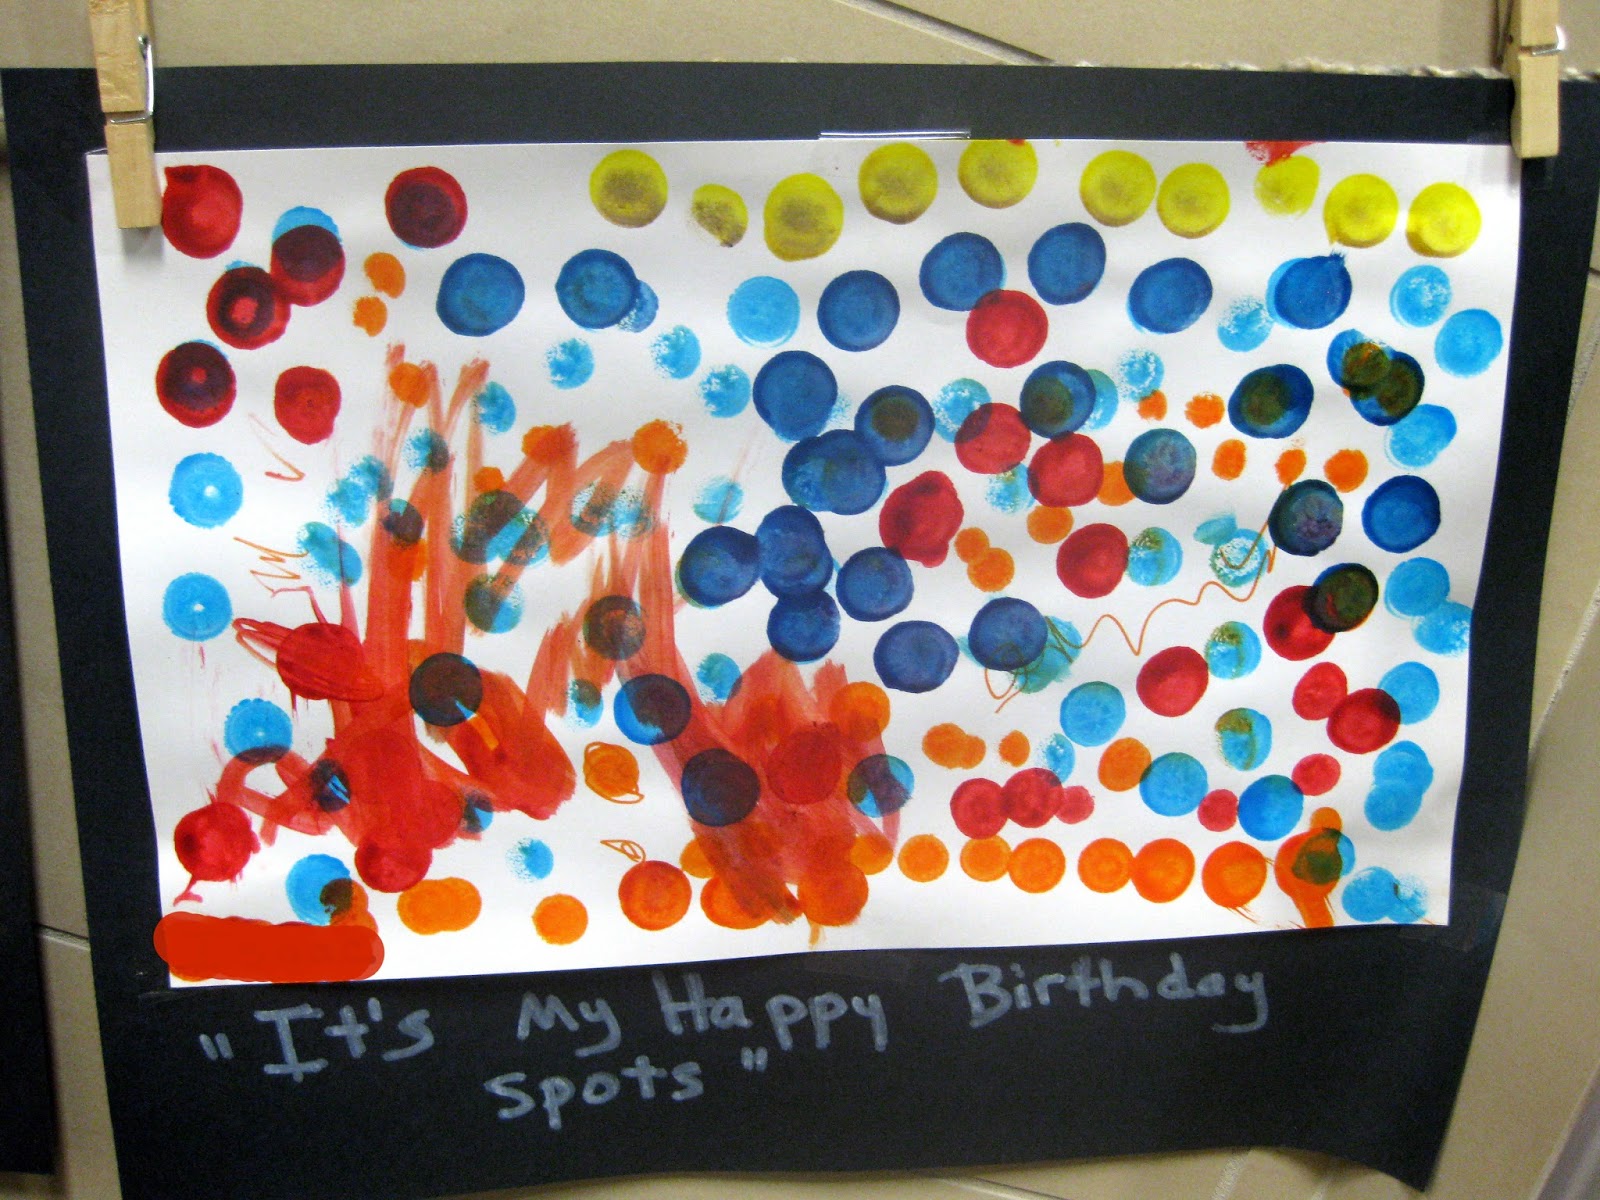
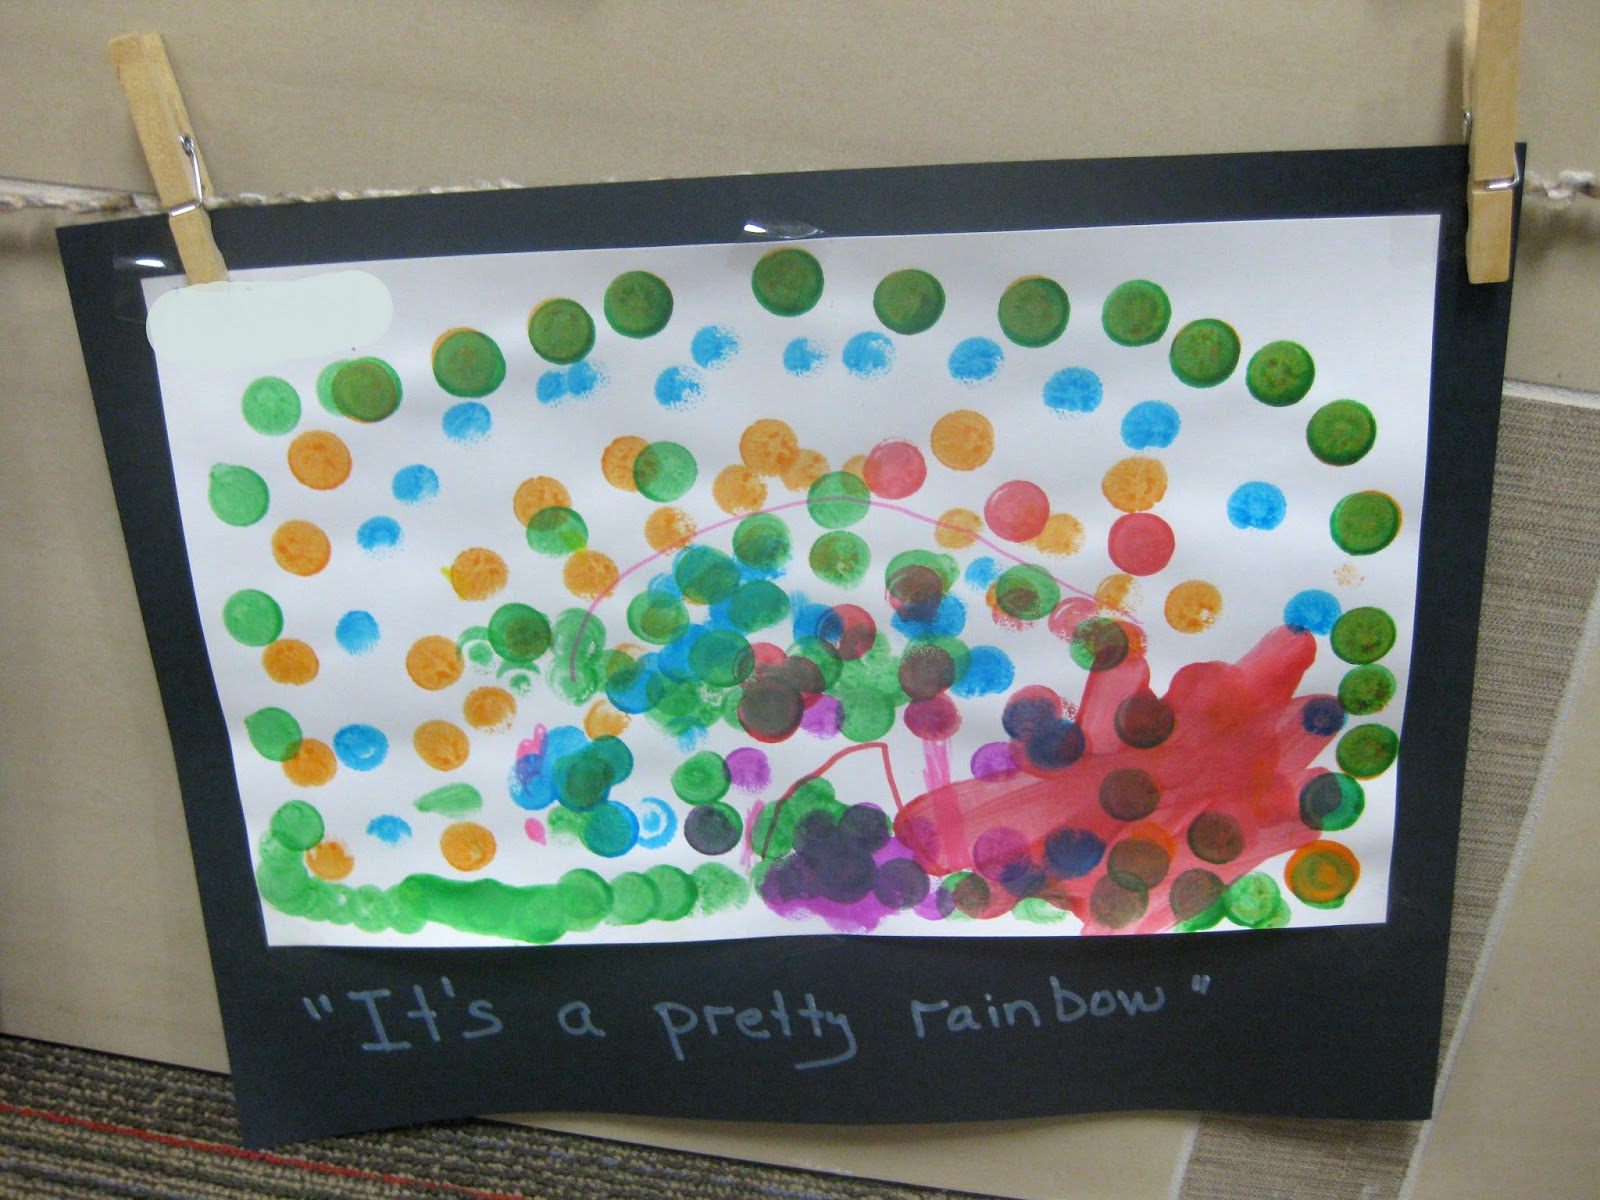
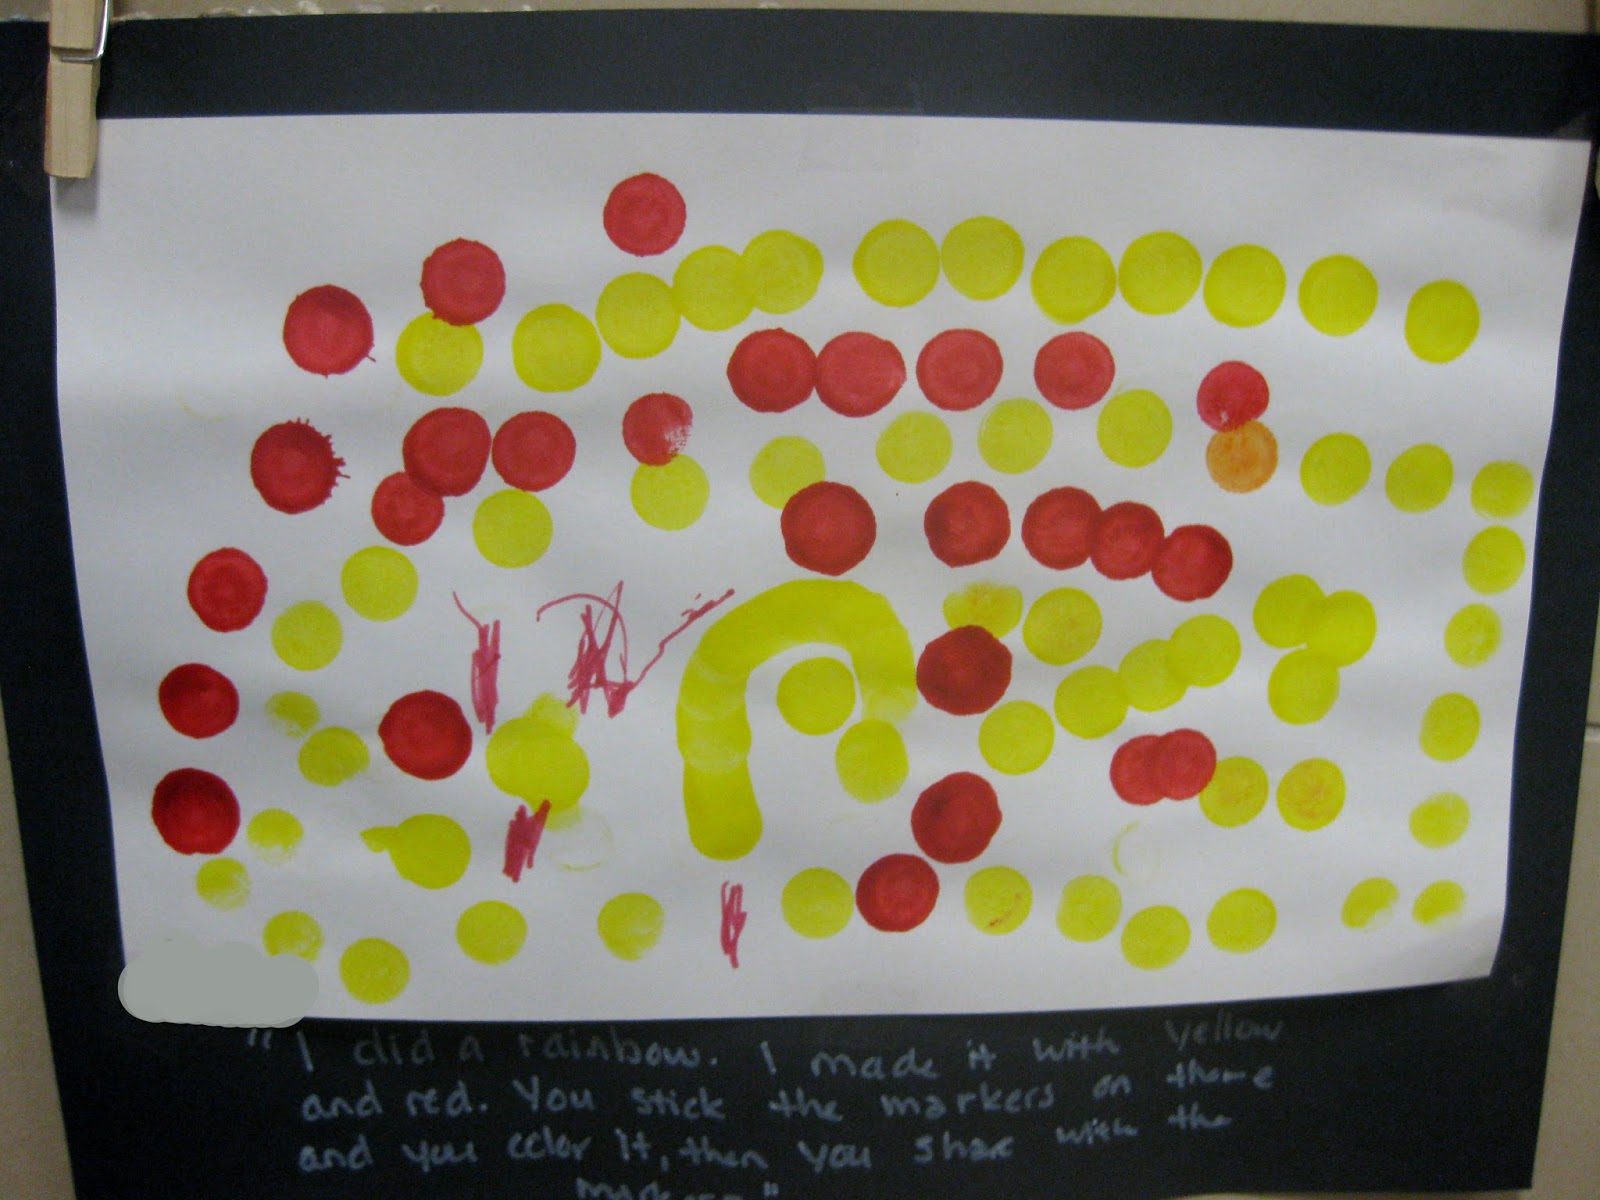
shapes.  Chihuly’s use of bright colors inspired us while creating our own “Macchias.”  First, we colored coffee filters with markers. Next, we used our fine motor muscles to squeeze and spray water on our art!  We observed how the water caused the ink to run and create new spontaneous designs and colorssimilar to Chihuly’s art! We placed our colorful filters on cups to dry. We used our creative expression to place our Macchias together wherever we thought would look best.


If you would like to learn more about blown glass visit www.childrensmuseum.org/fireworks-of-glass or The Oklahoma City Museum of Art, where a Chihuly glass art gallery is currently on display!


Here is a video that shows how glass is blown into shapes! 

Check out this free Chihuly iPhone app that allows you to blow into the microphone to create blown glass art! 


Design, create, and blow glass sculptures online! Click here!


Friday, October 25, 2013

Melted Crayon Pumpkins!

 Today we discussed heat and change (properties of matter!).  Students were asked why and how does a popsicle, snow, ice cream, butter, cheese, ect. melt. We then experimented with crayon color combos and a crafting heat gun. I read somewhere that a heat gun would prove faster results than a hair dryer.  It only took a few seconds for the crayons to start dripping.  Students even unwrapped the old crayons that we used in our experiment (fine motor practice). Of course after we unwrapped the crayons, little bits of paper were everywhere. We wrapped a little tape around the students hands and called it a clean up game..and in no time the carpet was spotless!  This is a fun activity that I would definitely do again! I would have used our big pumpkin but it decayyyyed! "Decay" is a popular word in our classroom lately. We watched a Sid the Science kid video and after that we've had decayed cheetos, celery, and even a decayed banana peel was found at home and brought to show! YUCK! : )  Happy fun friday!

Wednesday, October 16, 2013

Little things that make me happy...

#1 - Morning Meeting!  A time to dance, sing, annnnd shake our sillies out! Our morning time also includes our pledges, school creed, calendar, and weather graphing.
#2 - Chevron!  No matter how hard I try to have my classroom have the natural look..I can't shake the chevron! This happy little can sits right on our parent sign in station. PTA gave our class a donut party for collecting the most box tops! We were quite excited! : ) 
# 3 - Conscious Discipline! This is our "safe spot." Students can regulate their own emotions by doing breathing techniques and choosing calming activities. 
#4 - Art!  - A couple of teachers in my building started doing these group color canvases. We had to join in on the fun! Each student contributed one item to each canvas. They are so fun to look at and brighten my day! 
#5 - This happy little hoot owl given to me by my AMAZING pre-k aide!  I love owls and he just cheers me up!..and so does my aide..she makes me laugh all day long and the kids adore her! Thanks Mrs. B!


Fall Room Tour! (Part 2)

Our math center!  
We used real pumpkins in whole group math to practice ordinal numbers. Students took turns placing the pumpkins in order. Then, a student was selected to take a pumpkin away and hide it as the other students closed their eyes. They took turns guessing which number/pumpkin was missing! Now the pumpkins have moved into our math center! Students can have hands-on practice with ordinal numbers or they can act out the story below.


There are a couple versions of "Five Little Pumpkins." I wrote this version to incorporate the pumpkin life cycle/production sequence. 
These mini pumpkins and leaves were in the Target dollar aisle! I made the cards on photoshop.

This is an idea I found on pinterest. They are fall tactile number cards! Students had to carefully punch the dots/count 10 and punch out the dots on the numeral with a thumbtack. I know what you are thinking..20 four year olds with thumbtacks..SCARY!  ..but amazingly they were so careful and focused (and quiet!) while they were punching dots with the tacks! Then they glued seed pods (beans) to their cards.  This activity idea is from: http://thepreschooltoolboxblog.com/?p=1216
Here is a photo of our fall harvest pretend center..
I love having  books, vocabulary, and writing in most of the centers! Fellow teachers that I worked with last year showed me how to incorporate literacy into practically any center! 
Our discovery center! 
In this center we have: color sensory bottles, rainbow observing with cd's/flashlights, rainbow light up wands, rain stick,magnets, ABC/number wood chips, tree slice, fall leaves, and colored feather sorting. 
We also have white boards for writing vocabulary, life cycle sequencing cards (from: http://www.montessoriforeveryone.com/assets/PDF/Life_Cycle_of_a_Pumpkin.pdf), binoculars, seasonal books, and our ongoing experiments! 
The teacher across the hall introduced me to "Sid the Science Kid" videos!  She always does something fun in class to go along with the Sid experiment.  She had her class do an experiment with decaying bread, clean/dirty apples, and part of a pumpkin.  We tried the bread and the apples. For the bread, we had the students squirt the slices with water, place in ziploc baggie, and hang in the window. For the apple, we passed around a slice of apple and talked about germs on our hands. The clean untouched apple was placed straight into the mason jar. It took less than a week for us to notice the differences! And my oh my is it disgusting! I am amazed at this experiment! The kids love saying "decay." I had one little boy say at lunch, "I'm eating decayed cheeto today!"  Science is my favorite part of the day! : ) 
We've had a pumpkin seed taste test and also some pumpkin investigations/observations! Did I mention I love fall?!! 
 We had tested a pumpkin in  class to see if it would sink or float. Then we made boats out of tin foil, floated them, and then sank them with marbles. Students counted how many marbles sank their boat ..love it when science and math combine!  Each student took home a mini pumpkin over the weekend with instructions to report back on how they sank their pumpkin (without using their hands!) I love how their ideas were their own. Some students wrote word for word how they did their experiment, some drew a picture, some parents even took pictures! A few ideas were to scoop it out and let it soak overnight, tape a hammer to it, tape legos to it, and tape a toy plane to it... (see if it flies instead of sinks! HA!)


Check out another fall setup HERE!

Fall Room Tour! - 2013 (Part 1)


Here's an update for ya! I moved into my new classroom in August days before school started. It is now October (!!!) and I finally have my classroom pretty much arranged/organized to how I want it. I have less shelves than last year and our school is going for a more natural look...so I am slowly weeding out my lime green/hot pink things and replacing them with neutral colors and baskets. My only problem now is, when I buy something,  have to decide whether I want the new item for my classroom or my house. I love baskets and my house is decorated in neutral colors! 
This is our sensory center. In my previous classroom I had a whole sensory tub/table. This year I don't have one for my classroom (we do have some for outside sand/water play)...so I found this shallow tub at Target and set it on a low table. (Works great!)  Currently the tub is filled with oatmeal, fall scents, apples, pumpkins, shovels, measuring cups, farm animals, and plastic alphabet letters. 
Above our sensory table is our pumpkin patch!  For a math activity, students had to draw a large circle, cut it out, and practice measuring
height/width with unifix cubes! They did AWESOME!
I love all the variations of their pumpkin sizes! 
Our ABC center! 
In our ABC center we have: Alphabet books, magnadoodles, highway letters with matchbox cars, a magnet letter match game, upper/lower case letter matching popsicles, Handwriting Without Tears wood pieces, an Apple Pie letter match game, alphabet bead stringing..
Alphabet letter stringing: I have a ton of pipe cleaners and this is a great way to use them up!  I change out the pipe cleaner colors with the seasons. The ABC beads are from a craft store. Students can practice spelling their name or words from vocab. cards!
...we also have a variety of writing utensils (including melted crayon hearts, pencils, colored pencils, skinny markers), paper, old keyboard, name cards, dry erase boards, stencils for story writing, mini mailbox,  wikki stix, and mini alphabet board books!
Birthday bags..they are finally up!  Some of my co-teachers have some adorable hanging birthday bags! We use these to sing the months of the year.  I covered reg. brown gift bags with scrapbook paper from Hobby Lobby. The book of scrapbook paper included all these fun rustic chevron prints!
This collage art is not in our room..but just outside our door.  We call them our "Fall Trees."  Students chose what items and how many items to glue on..and where! 

See Fall Room Tour part 2 HERE!
Also..check out another fall setup  


Sunday, September 29, 2013

Autumn!

Here is a simple apple pie matching game to make for your ABC center: print off pie clip art and apple slices, cut & laminate, and write upper/lower case letters. You could easily change out the letters with a Mr. Clean Magic Eraser..OR you could switch it and make it a math game! Students can record their letter or number matches on paper, white board, or even a magnadoodle! 
Mmmmm...the smells of Autumn!  We passed around spices, used our "sense of smell," and guessed what the spices could be!  Here are some of the spices we smelled: cinnamon, cloves, apple pie spice, pumpkin pie spice, nutmeg, and dried orange spice (Target!). After smelling the spices, students can create spice art! Mix a little watered down white glue with spices. Use paint brushes and thick paper. Students will take home some sweet smelling paintings! 
We set up a practical life station during centers. Students were able to grate their own cinnamon! I found these large cinnamon sticks at an Amish bakery but McCormick sells smaller cinnamon sticks (near the spices in the baking aisle of the grocery store).

I don't think I will ever get this song out of my head!  The kids love it and it is quite catchy! "Herman the Worm" by The Learning Station.  We gave each student a worm (half of a pipe cleaner). This song includes counting, sequencing, and measurement!  Students stuff their "worm" in their hand and as Herman eats, students pull out a little bit more of their pipe cleaner..showing small, bigger, longer!! ..and then he burps! ..and he goes back to small again.. It's a fun song!! doowop doowop! 
Here is another activity we did this week... I first saw the idea on kindergartenkindergarten.com.  It's called "Find the Worm."  I printed off apples..laminated them...and then used a sharpie to write the numerals, number words, and counting dots.  (Write over the laminate..so then later you can wipe it off and use the apples for something else!) We used a small piece of green pipe cleaner for the worm..yarn would work too..(or how about one of those rubber fishing worms!? ..maybe next year!)  We played this activity every day this week as an intro. game for our math group time.  The apples were arranged in a different pattern each day...ABAB..ABC..ABBA.. and after the worm was found I had extra apples on hand so the students could take turns finishing the pattern... Another way to play: Hand out the apples to the students..then they take turns arranging the apples in order...then one student could hide the worm.  Patterning, number identification, counting, colors, and ordering...LOVE IT!

Other things we did with apples this week:

-Finished simple patterns with real apples and created our own patterns with real apples!

-Graphed apples and taste tested apple butter!

-Measured ourselves with real apples, compared heights, and took turns measuring things around the classroom (with apples!)


-Played "Pin the Apple on the Tree" ..used the apples from the pocket chart, masking tape, scarf for blindfold, and butcher paper tree.

-Played "Meet Me at the Top of the Apple Tree" game.. the class was split into two teams. We laid out our butcher paper tree on the carpet and I had drawn a grid up the trunk. Teams rolled a jumbo dice and raced their beanie babies up the tree! (We used a worm and a snake..a chipmunk or bird would work too! OR print off clip art and laminate!) 

-We went apple picking! Red pom poms were hidden all over the classroom. Students worked with partners to collect 5 apples in their baskets. (We used berry baskets that I scored at a garage sale!)  Students had to determine with their partners if they had five apples, more than five, or less than five.

-Apple Eruptions!!! ..Students took turns stirring a bowl  filled with a cup of baking soda and some spices (Students used their sense of smell and they chose their spices..cinnamon, apple pie spice, etc.)...  Then, we dropped food coloring (experimented with a couple of colors!) into vinegar. I cut out holes on the tops of apples..Students took turns filling the apples with the baking soda mixture and (carefully) pouring the vinegar over top. We watched and listened to all the millions of  tiny popping bubbles.. At one point, we decided to try three apples at one time, each apple with a different color.. and then we watched the colors mix. This activity allowed students to use their senses, predict, experiment, and witness cause and effect! It was a super cool experiment that I highly recommend!  
Click here for more fall fun from Pre-K Tweets! 


Wednesday, September 18, 2013

Pre-K, Pre-K...what do YOU see?

It all started with introducing one of our new art materials...paint daubers!  I love how this project turned out and how documenting student work through questioning allowed us to see what THEY see and what is being learned! My lovely new assistant provided us with the daubers that she got for free! Students were asked questions like "Tell me about your art? (Using describing words, vocabulary, and complete sentences!!) How did you make it..how did you start?  (higher level thinking and intro. to sequencing!!!!) What happens when? (cause and effect!)" ...a little giddy here.. :) I took some photo documentation of students focusing on their art..sharing..mixing colors..etc. I love to sneak a photo of them when they're not watching! :) The art was also matted..I remember my art teacher that I had from kindergarten to third grade..she always matted our work..no matter how simple it was..It made me feel important and that I was a true artist! Documentation is great for keeping in student portfolios to re-visit with students and to show at conferences.  

LOVE!!!


We had a chat about how colors make us feel! I love to see their new knowledge shine!


bet you didn't see that coming! 

patterning!! 


We have been singing square and circle songs lately! 
I see it now..can YOU?